The Official Shelving Discussion Thread

Squarehard

CAGiversary!
Feedback
182 (100%)
As per wiggy's request.

Need some help figuring out what kind of shelving unit best suits you? Well you've come to the right place.

This thread is for everyone to discuss anything relating to shelving.

It's mainly a place for people to discuss recommendations on shelving units, building shelving units, and any other inquiries about shelving.

But one thing is clear about this thread, and that is, wiggyx really needs to finish his shelving unit already.
 
Noice! I gotta post my .02 up in here. It's a LOT easier to make your own shelving than many folks seem to think ;)
 
I think for me it's really the laziness that hinders me building my own shelves. I also don't have most of the tools needed to do the job, and I'd have to borrow them from my friend if I wanted to build a shelf again.
 
[quote name='wiggyx']You'd be surprised how few tools you actually need...[/QUOTE]

Well the only actual tool I'd be missing is a routing saw which I don't have, but my friend does.

But yeah, not a lot of tools needed really just lazy in the end. XD
 
Put me in the 'too lazy to build my own' column. Not to mention I only took shop class in school because I HAD to in order to graduate. I'd rather just hit up the local thrift store and buy some cheap plastic prefab ones, wipe those bitches down with some alcohol or Lysol to sanitize them and then reassemble them.

As it stands now I have the set of plastic ones I was using for my game/dvd collection sitting partially disassembled in the other room cuz I got one of those media cabinets from BB for $22 as well as a milk crate type shelving unit I picked up while curb crawling(picking junk outta peoples garbage pile).

I cleaned them up and was all ready to use them. Then I realized that after I got the media cabinet I didn't really need that other shelf. But I'm sure I'll find a use for it somewhere. :razz:

Not only that but I also have that big honkin' metal rolling rack I got for free from down the line a while ago that I have my empty game/DVD cases from HWV sitting on that I could use for my game/DVD collection.:lol:
 
Do you usually find bookshelves or media shelves at your local thrift stores?

My thrift stores only ever have book shelves, which are way to deep for the space I have in my rooms. I really wish I can find some media shelves one of these days though since Salvation Army always runs these 70% off all furniture sales, but I never get to partake cuz they never have media shelves. T___T
 
I want to build my own bookshelves just so I have ones made out of real wood. Though I already have extra bookshelves and nowhere to put them.

Anything I should know about what kind of wood to use? And is there a way to not have screws showing where I put the tops/edges together? I'd like to use pegs to set the shelves on so there's that too.
 
[quote name='Squarehard']Do you usually find bookshelves or media shelves at your local thrift stores?

My thrift stores only ever have book shelves, which are way to deep for the space I have in my rooms. I really wish I can find some media shelves one of these days though since Salvation Army always runs these 70% off all furniture sales, but I never get to partake cuz they never have media shelves. T___T[/QUOTE]
It's usually just bookshelves and older ones at that. But at least then it'd allow me to clean up some of the game guides I have strewn all over the damn place among other stuff.:lol:

But with that media shelf(SKU: 9248655 @ Best Buy if you wanna check for one yourself) I have all of the items I would want to keep in one place in one place now. The rest of the stuff like some toys and collectors edition extras I could likely just use those plastic shelves, since no one ever really sees my game room anyway, so it's not like I want to really display them on a nice shelf to impress anyone. :whistle2:#

Speaking of those guides, I should just slap a set price on most of the ones on my TL and clear out some of the more meh valued ones. God knows throwing em up on Amazon hasn't helped at all.:roll:
 
I plan to build something when we find a house, but for now I have a single Atlantic Oskar (holds ~360 DVDs).

My friend has 7 of them. They occupy one whole wall of his house. He's a huge collector.

I also have some smaller stackable Atlantic units that I'm using elsewhere (1 for DVD seasons and 3 for CDs).
 
[quote name='wiggyx']Noice! I gotta post my .02 up in here. It's a LOT easier to make your own shelving than many folks seem to think ;)[/QUOTE]

Yeah...

So, when do you plan to finish those shelves? It's been what, a few months since you showed us the plans?
 
I did construction roofing framing for two years and I don't even think id be able to do it on my own. Really close though. I have all the knowledge just not the tools or motivation.
 
Just a heads up for anyone looking for some great quality shelves that are on sale at Best Buy right now.

http://www.bestbuy.com/site/searchp...id&qp=&list=n&usc=All+Categories&nrp=15&iht=n

Prepac series shelves are going to be better quality material wise than your regular shelving companies such as Atlantic and Sauder, but they are usually pretty expensive. But some of the smaller end shelves are currently on sale right now, so if anybody was interested here you go.
 
[quote name='Squarehard']Well the only actual tool I'd be missing is a routing saw which I don't have, but my friend does.

But yeah, not a lot of tools needed really just lazy in the end. XD[/QUOTE]

In reality you don't even need that. Here's the tools you can get by with:
Tape measure
Hand saw (not electric or anything... just a good 'ol hand saw)
Drill (or screwdriver if you want to be uber cheap, but trust me... you'll want to use a drill)
1 & 1/2" wood screws (nothing shorter than this, but can go up to 2")
Sand paper

Optional tools:
Circular saw
Wood stain + paint brush
Belt sander

[quote name='ajh2298']Whats the best way to join the corners if I wanted to try and build some.[/QUOTE]

K.I.S.S. (keep it simple stoopid)
Just screw one wood board into the other (see picture below). Don't try and do fancy dovetails or any of that other stuff. If you find screws REALLY unsightly, you can try pre drilling holes and using pegs, but personally I find pegs to be a pain and a bit less stable if you don't do it right.

[quote name='slainviper']I want to build my own bookshelves just so I have ones made out of real wood. Though I already have extra bookshelves and nowhere to put them.

Anything I should know about what kind of wood to use? And is there a way to not have screws showing where I put the tops/edges together? I'd like to use pegs to set the shelves on so there's that too.[/QUOTE]

Depends on your budget. Fancier woods will look better without having to stain them, though they might be harder to cut. Personally, I would recommend just some 1x6" thick pine wood boards. This will give you the easiest build and the most flexibility.
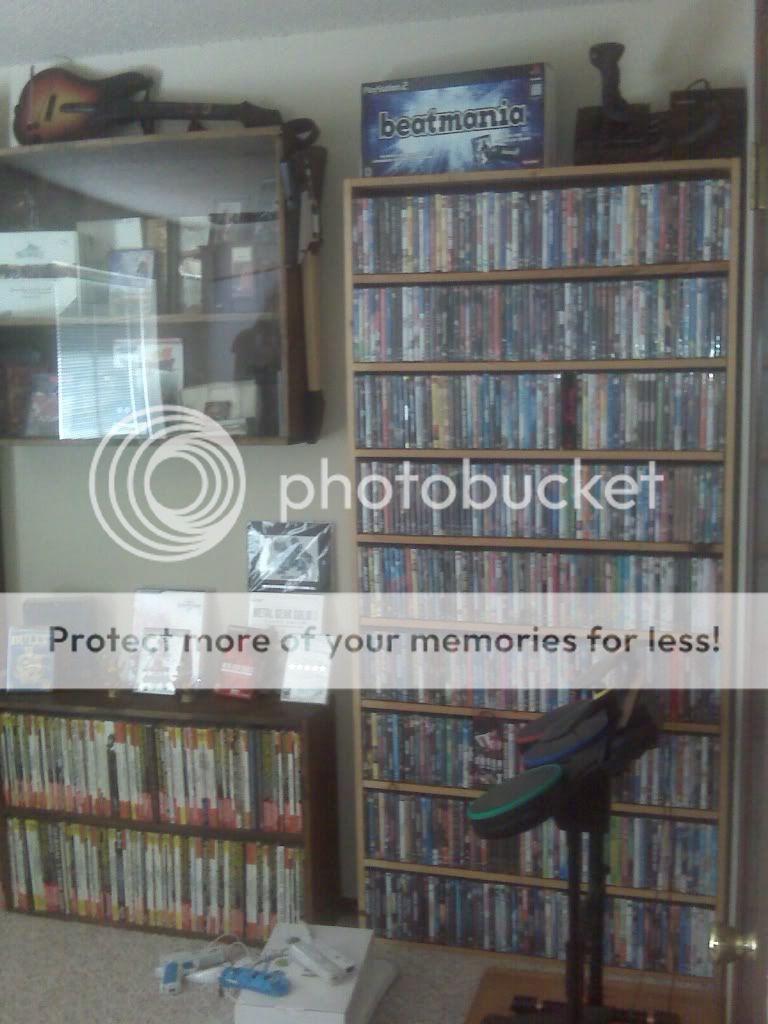
IMG00055_zps90b79f5f.jpg


This is an example of a couple of things I've built with the same concept on all of them. The bookshelf on the right is just one long piece on the sides and all the shelves are cut to the same length and screwed in from the sides (2-3 screws on each side for each shelf). Depending on your decor, you can leave in the natural wood color or you can go buy some wood stain and go to town. There's plenty of different shades to choose from. The only other thing to figure out is the backing. I forget what it is called, but there is some kind of cheap sheet of particle board that you can find at home depot/lowe's/etc. that you can simply cut to size and nail into the back of your finished structure. You can also stain it to match the rest of the shelf.

Quick word of advice- If you are going to stain, make sure you cut all the pieces to size and then stain it. Don't wait until after it is all assembled to stain it or you'll miss lots of little corners. Just an FYI.

PS- To answer the question about screws not showing, if you use the black colored screws and stain the wood a darker color, the screws will blend in and you can't really see them.
 
I built my own computer desk a while back and to hide the screws I simply screwed them down slightly below the surface and used some wood putty to cover them. Sand that down and you shouldn't be able to tell they're there really. Granted I painted this desk because I used cheap particle board, but ti should still look good. Using wooden dowels can be a pain in the ass, not worth it IMO.
 
[quote name='Warner1281']
In reality you don't even need that. Here's the tools you can get by with:
Tape measure
Hand saw (not electric or anything... just a good 'ol hand saw)
Drill (or screwdriver if you want to be uber cheap, but trust me... you'll want to use a drill)
1 & 1/2" wood screws (nothing shorter than this, but can go up to 2")
Sand paper

Optional tools:
Circular saw
Wood stain + paint brush
Belt sander


K.I.S.S. (keep it simple stoopid)
Just screw one wood board into the other (see picture below). Don't try and do fancy dovetails or any of that other stuff. If you find screws REALLY unsightly, you can try pre drilling holes and using pegs, but personally I find pegs to be a pain and a bit less stable if you don't do it right.


Depends on your budget. Fancier woods will look better without having to stain them, though they might be harder to cut. Personally, I would recommend just some 1x6" thick pine wood boards. This will give you the easiest build and the most flexibility.

IMG00055_zps90b79f5f.jpg


This is an example of a couple of things I've built with the same concept on all of them. The bookshelf on the right is just one long piece on the sides and all the shelves are cut to the same length and screwed in from the sides (2-3 screws on each side for each shelf). Depending on your decor, you can leave in the natural wood color or you can go buy some wood stain and go to town. There's plenty of different shades to choose from. The only other thing to figure out is the backing. I forget what it is called, but there is some kind of cheap sheet of particle board that you can find at home depot/lowe's/etc. that you can simply cut to size and nail into the back of your finished structure. You can also stain it to match the rest of the shelf.

Quick word of advice- If you are going to stain, make sure you cut all the pieces to size and then stain it. Don't wait until after it is all assembled to stain it or you'll miss lots of little corners. Just an FYI.

PS- To answer the question about screws not showing, if you use the black colored screws and stain the wood a darker color, the screws will blend in and you can't really see them.
[/QUOTE]Thanks for the advice, bro. I'm too OCD to have screws showing at all and particle board backing, though.

I think I might go the peg route to not have any screws showing, though I am worried about the stability of that.
And maybe I could screw a bunch of boards to the back? Screws wouldn't bother me there since, you know, I wouldn't see them.
Also, I definitely plan on staining using a semi-dark color. It's the color of trim in my room but I haven't bothered checking what it's called exactly.
 
Ya know, I probably would have enjoyed this thread, but for the last two weeks I have been installing shelving in office max trucks 10 hours a day.
(I work for a truck body manufacturer)

So now this thread just fills me full of rage. :whistle2:|
 
[quote name='TheMightySlinky']I'm in the market for some shelves/bookcase anyone have any suggestions? found a shelf from ikea i like but the shipping would be like $350.[/QUOTE]

How much are you planning to store, and do you have a dimension in mind of what size stand you want to fit the unit into?
 
[quote name='Squarehard']How much are you planning to store, and do you have a dimension in mind of what size stand you want to fit the unit into?[/QUOTE]


the space we have to work with is about 5'1/2 long by 7' tall. it needs to be big enough to a few hundred books and games, maybe some records too if I cant find a nice stereo cabinet. i know its vague but I'm not really sure.
 
You may want to look into some of the higher end Sauder book shelves for something that heavy duty that won't be terribly costly. You may also split it between a couple of the Target lower end book shelves that are tall but not terribly wide, but you can probably fit two of them into the space you have. But with that many books you are really going to have to watch out exactly what you pick up as far as anything too low end because some of the shelves on the ones that are in the $40-$60 range may not be able to support all those books without some noticeable warping.
 
[quote name='elessar123']Wait, did IATCG get banned?[/QUOTE]

Yeah, I don't know why but I think it's permanent this time around.
 
Really? I wonder what he did for that. I mean IATCG says some questionable things from time to time, but I still enjoy having him around for the most part.
 
Some additional suggestions...

If you're not going with mitered corners on your boards, and are instead just butting one piece up against the other at right angles, you could always attach some thin crown molding across the top to hide the seams. Also adds a more decorative vibe to your build.
 
It seems almost every shelving unit allows you to adjust where the shelves actually are on the unit. But are there any that also have the option of putting dividers in wherever you want? Essentially making somewhat of a cubby hole?
 
I have two DVD shelves, one I got when I first started collecting DVDs and the other for college. My original one is your typical fake wood shelf, but aside from not being able to fit abnormally large box sets (usually anime) it has worked out fine with no warping. Even has a bunch of DVD artboxes and a Gun dam model on top. My other shelf is a collapasable black wood unit. Very simple and not visually appealing, but still holding well. Only problem is that I have two extra shelves that don't fit.

I also discovered these DVD bags on Harriet Carter. They are clear plastic bags about as tall as a standard DVD/game case and it holds 37 cases per bag. I have four of them stacked up as a makeshift shelf to hold my like discs (right now being Pokemon, Dragonball, Gundam, and DC).
 
I figure ill just use this thread as a log if that's OK.

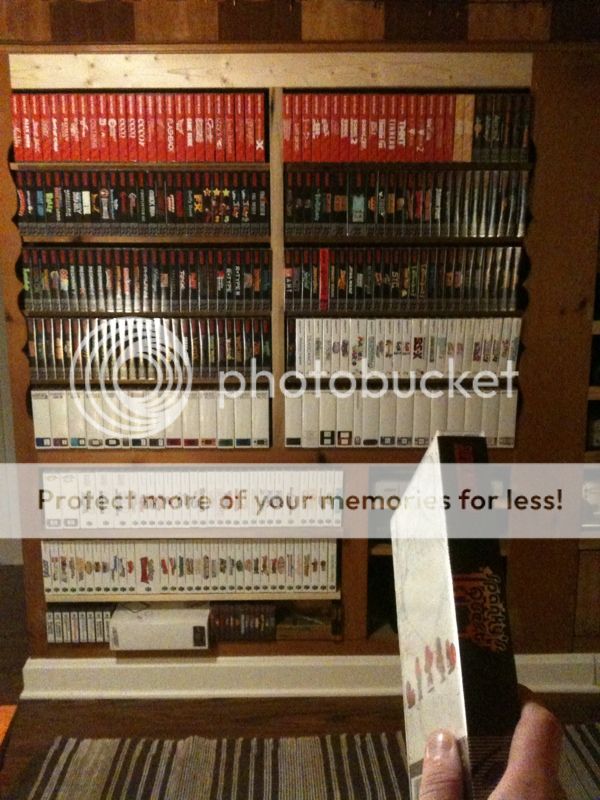
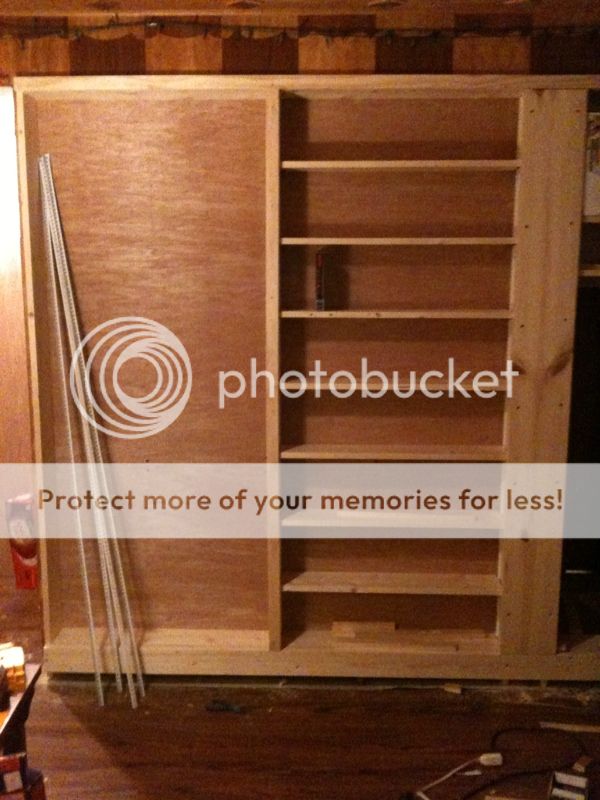
Made a mess, hit my head on a nail, bled like crazy. Still made good progress :)


Spanky's Quest was a no go. Absolutely no room left :(
29E635F9-EDED-416E-9E1D-B9BE06165897-1646-0000013376728524.jpg


Pry bar and hammer. Phase one complete.
67061E49-3C40-4C43-AE04-AC567C778E35-1627-0000013195CD6713.jpg
 
You should give your log a more appealing title, maybe rip off Rightstuf's title, except in your case we might have to make a minor adjustment...

Hmmmm....oh I got it,

wiggyx's 12 Weeks of Shelf Building

Day 1
Pry bar and hammer.
 
[quote name='skiizim']I did a little snooping, it basically boils down between the mods, him and confoosious.[/QUOTE]


I'm not surprised you mentioned confoosious lol
 
[quote name='Squarehard']You should give your log a more appealing title, maybe rip off Rightstuf's title, except in your case we might have to make a minor adjustment...

Hmmmm....oh I got it,

wiggyx's 12 Weeks of Shelf Building

Day 1
Pry bar and hammer.[/QUOTE]

Blerg, now I have to make em faster than that :p

But seriously, I hope to have this done in a week, 2 at max. If it stays like this through Xmas, the wifey will murder me. That's part of why I chose to start it now. It'll light a good sized fire under my arse ;)
 
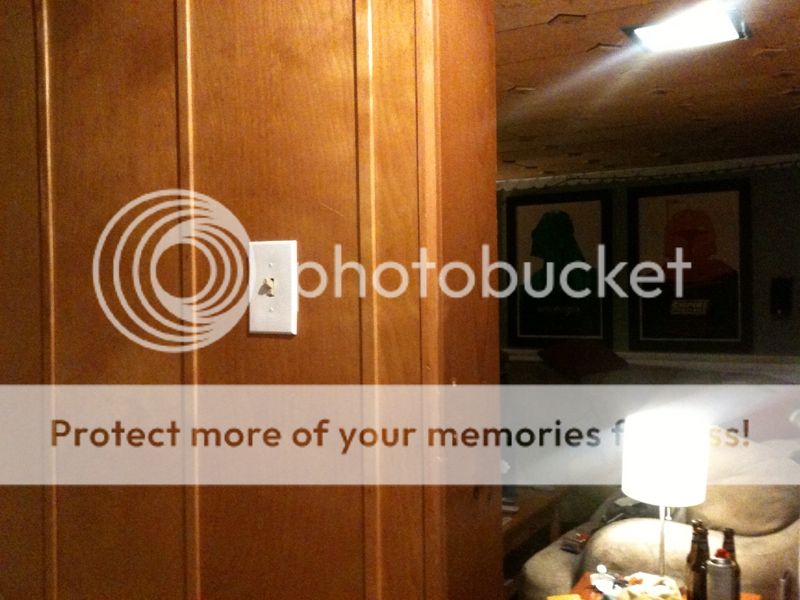
Terrible behind-the-shelves light switch is resolved (flipped around and facing the steps behind the shelves).

5692E66A-FBDD-4D27-9FA7-50AF164ADA40-1942-0000016EAE5BCE82.jpg


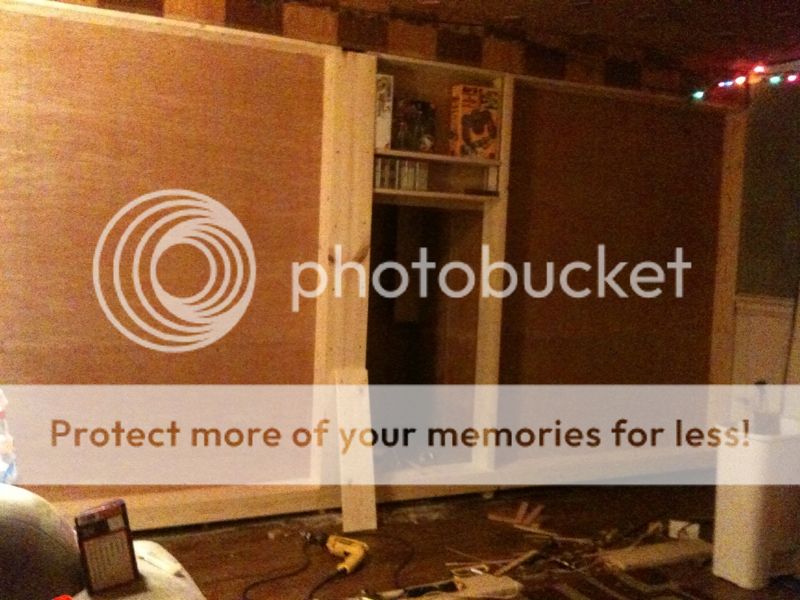
And here's some fodder for your next comic. I literally made makeshift shelves from the old shelves in order to temporarily shelve everything while I make more shelves :p


58F0F6D6-5BD7-4154-8B3B-98061E31FB5E-1987-00000173D22D154F.jpg
 
I was just talking to my girlfriend about how i'd like to make a shelf for my ps3 and 360 games...as i was surfing new posts, and then on the next page of search results appeared this thread..

Think i'll work on a small shelf this weekend. Will update with some pics accordingly.
 
Day 1: Hammer and Pry Bar
Day 2: Hammer, Hammer, Hammer. A little electrical work. Redrawing plans and picking up supplies to add another outlet inside shelving for the consoles plus another splitter and some long-ass AV cables to run through the wall. It'll be nice to not have to move a console or two everything I wanna play something.
Day 3: Profit. Or something like that. Not quite there yet :p
 
Was pretty ill the last week (and still am), but I'm making progress in spite of all the Xmas decorating and happenings.

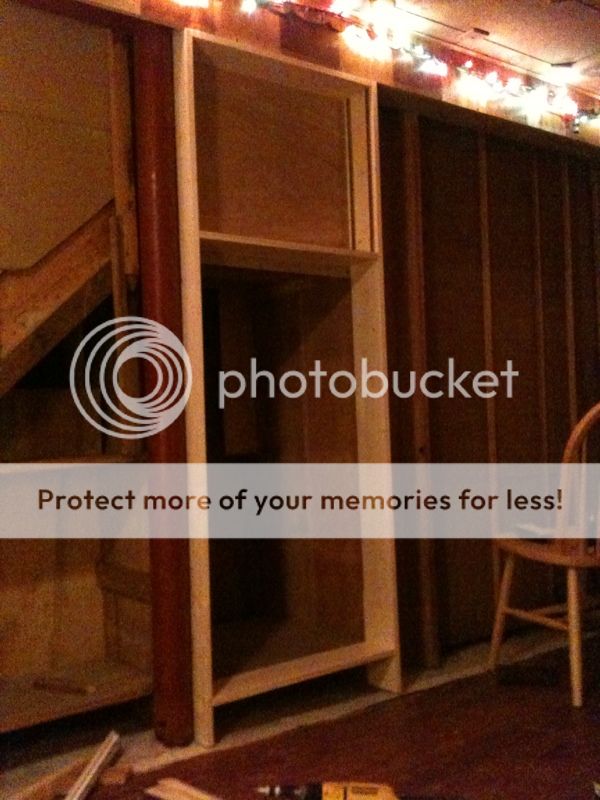
D7531009-9B00-475B-AF31-669EB6655BF3-895-000000B7638E0291.jpg


Should be able to get it all framed in tomorrow, then it's on to the tedious shit.
 
Turns out that opening that wall may have unleashed something nasty that I'm terribly allergic to. Actually hadn't been in the basement for about a week until I bought a pricey respirator so that I could go back down and finish the job :(

0375F506-1106-4157-BC3A-D25DB00F0D85-409-00000042CD26B537.jpg


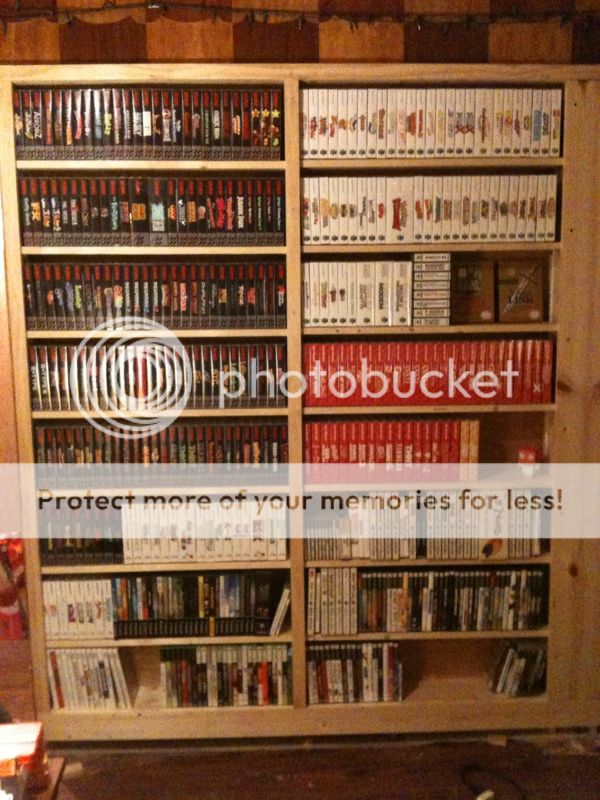
The hard work is all done. Just installing the brackets and cutting the shelves themselves (which takes all of about 10 seconds per shelf). I'll paint it in the spring and I'll add some lighting after the new year. But it should be full of gaming goodness again in a day or so :D
 
Just about done.

E6505E4A-C69D-4CE3-955F-082CF77EAD16-1240-000000B9532A7A24.jpg


Gotta slap the bracket rails up on the other side then get the center area sorted out. So close I can taste it...

5255AD07-4A59-4320-9AA7-14A535A54552-1240-000000B95929E512.jpg
 
bread's done
Back
Top